Fluffy Buttermilk Pancakes
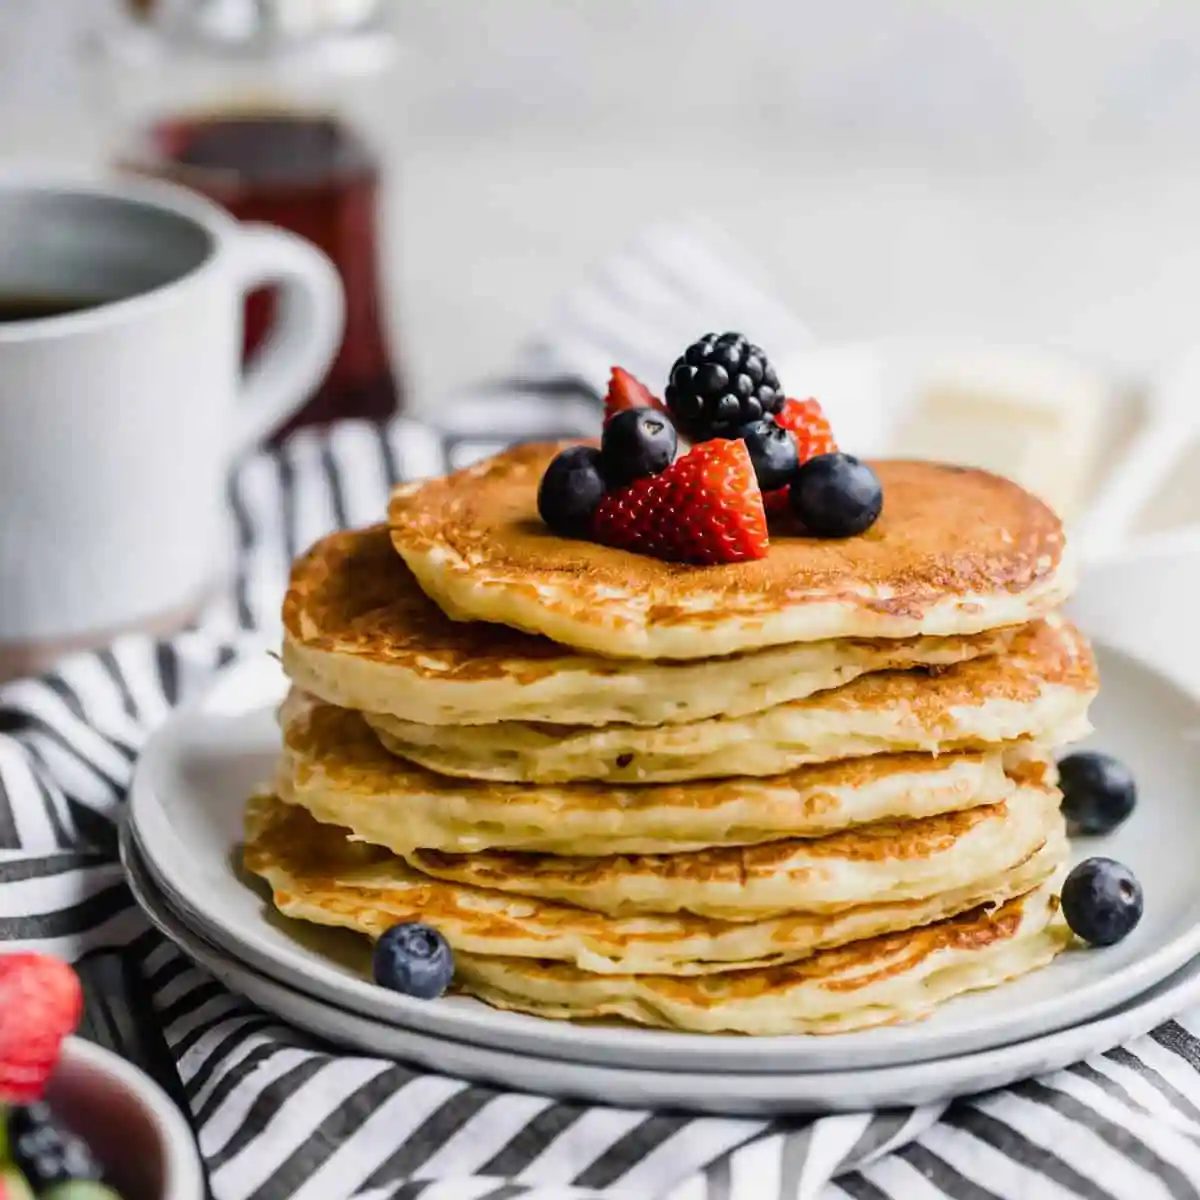
Make the most out of your weekend breakfast routine with these fluffy buttermilk pancakes. This straightforward pancake recipe is made entirely from scratch, with pantry staple ingredients, in one bowl. Ready in about 30 minutes these from-scratch pancakes won’t disappoint.
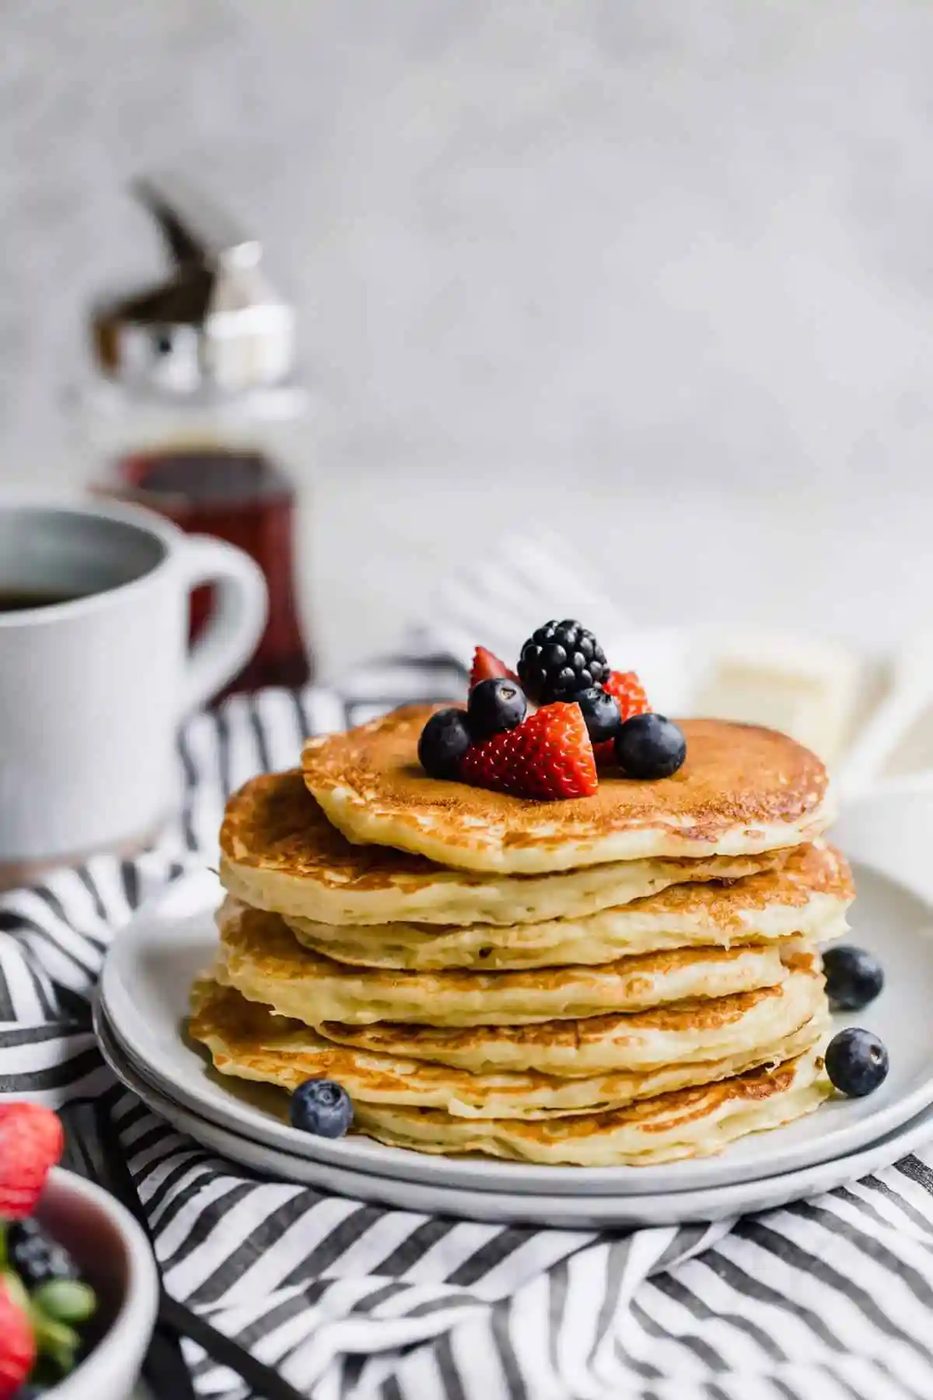
Our quest for a fabulous pancake recipe has followed a similar path as our quest for the reliable chocolate chip cookie. Until we found “the one“, we searched high and low. If a recipe claimed to be a standby, we tried it. And we kept trying until that fateful day when it was clear that we never had to try another chocolate chip recipe again. And so it has been for pancakes.
Years and years ago, we set out on a quest to ditch the box mix (which we had relied on since college) and instead go all from-scratch all the time. We wanted a pancake recipe we could make from scratch that didn’t take too long and turned out evenly fluffy and flavorful every single time.
We had a previous version here that we relied on for years, but after stumbling upon a slight alteration a couple of years ago, it’s the only way we've made them since and they are, hands down, pancake perfection. This recipe is the cornerstone of our Saturday “pancake day”!
The Key to Fluffy Pancakes
What is the key to fluffy buttermilk pancakes? After many rounds of pancakes, there are 4 keys to making a fluffy pancake. Let’s talk them through!
- Baking Soda PLUS Baking Powder: We use a one-two leavening punch in these pancakes to give them nice lift. The baking soda reacts with the buttermilk, and baking powder gives it a bit more of a pop to ensure that these are supremely light and fluffy pancakes.
- Buttermilk: A pancake staple! Not only does buttermilk react with the baking soda to give the pancakes extra height, but it also helps to break down the gluten in the flour for pancakes that turn out nice and tender, not tough or rubbery.
- Gentle Mixing: When whisking the pancake batter together, be sure to do so gently and for only as long as it takes to incorporate the wet ingredients into the dry. Lumps are okay, you don’t want a completely smooth batter!
- Be a Patient Flipper! Don’t rush flipping the pancakes; you want to give them plenty of time on the griddle (or pan) to bubble up. This helps to set the height and ensure they are fluffy and not squashed-down, flat little sad pancakes. Most recipes call for flipping when you see bubbles, but we actually wait until the outer edges of the pancake begin to look set, and THEN we flip.
How to Make Buttermilk Pancakes
We have pancakes every single weekend; sometimes they’re sprinkled with blueberries or chocolate chips, and sometimes they’re just plain ol’ pancakes with butter and syrup. This straightforward recipe uses pantry staples and is speedy to mix together. Reliable for weekend mornings or special occasions during the week (hello birthday breakfast!).
Once you have your ingredients you are ready to get baking!
- Mix dry ingredients: Whisk the flour, sugar, baking powder, baking soda, and salt together in a large bowl and make a well in the center.
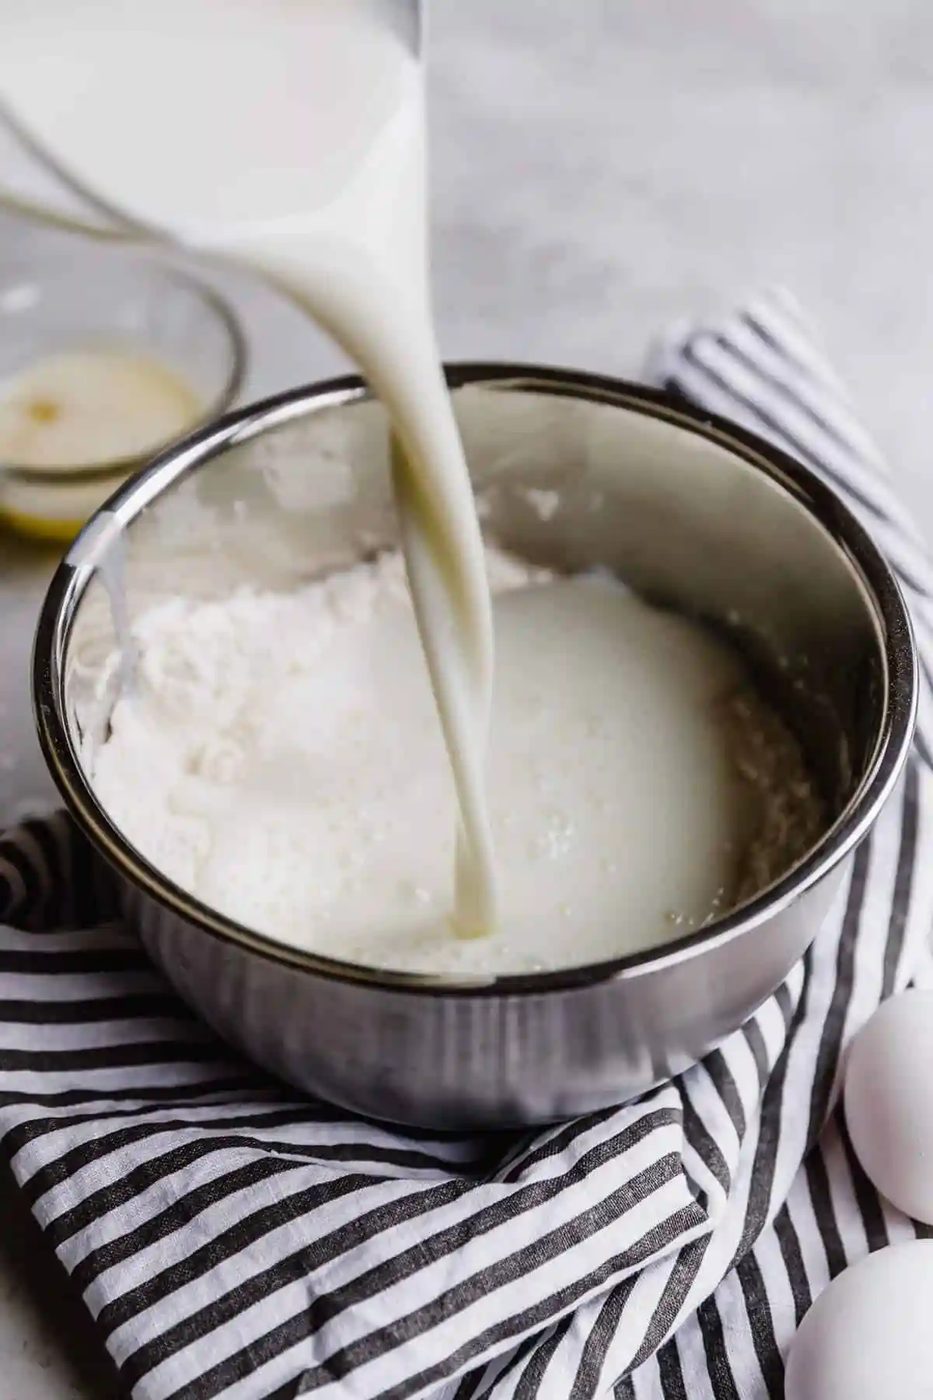
- Add liquid ingredients: Pour the buttermilk into the well, then add the eggs, melted butter, and vanilla extract.
- Carefully mix: Beginning in the center, whisk everything together, moving towards the outside of the bowl, until all of the ingredients are incorporated. Do not over mix- lumps are okay!
- Rest the batter: Allow the batter to rest for 10 minutes while you preheat your pan or griddle. You can also refrigerate the batter for up to 1 hour at this point.
- Heat the skillet: Heat a large nonstick griddle or skillet (cast iron is best) over low heat for 5 minutes. If you are using an electric griddle, preheat it to 350°F.)
- Oil the skillet: Add 1 tablespoon of oil to the skillet, then increase the heat to medium-low.
- Scoop the batter: Using ⅓ cup measuring cup or disher, ladle the batter onto the pan or griddle. Do not crowd the surface, even if this means only being able to cook a couple at a time.
- Cook the first side: Cook until the edges are set, first side is golden brown, and there are bubbled on the surface, 2 to 4 minutes.
- Flip and cook second side: Using a thin, wide spatula, flip pancakes and continue to cook until the second side is golden brown, 1 to 2 minutes longer.
- Repeat with the remaining batter until all pancakes are cooked.
Recipe Notes
A few speedy tips and reminders to make sure you churn out the most reliable pancakes each and every time:
- Buttermilk Substitute: If you don't have buttermilk on hand, you can easily make it using a combination of regular milk and either lemon juice or white vinegar (this is referred to as "clabbered milk"); here's how to do it: For this pancake recipe, add 2½ tablespoons of lemon juice or white vinegar to a 4-cup measuring cup, then add enough milk to make 2½ cups. Stir together, then use as directed in the recipe. (You only need 2¼ cups for this recipe; you can discard the leftover buttermilk.)
- Buttermilk Tip: Sometimes we only have a pint (2 cups) of buttermilk in the refrigerator and will use whole milk for the remaining ¼ cup and have never had an issue.
- Lumps are okay! Be sure not to overmix the batter.
- Vary the pancake size. You can make smaller or larger pancakes if you’d like.
Mix-Ins and Toppings
If you are looking for ways to spice up these buttermilk pancakes, here are a few of our family’s favorite mix-ins that make these a special weekend treat!
- Chocolate chips (mini or regular sized)
- Funfetti sprinkles
- Blueberries
- Sliced bananas
- Peanut butter chips
- Chopped strawberries
As for toppings, we prefer our pancakes with butter and maple syrup but some other fun ways to top them off include:
- Fresh fruit (like strawberries, bananas, and blueberries)
- Whipped cream
- Ice cream (a great way to celebrate a birthday!)
Make it a Meal
Wanting more for breakfast? Here are a few rich sides to dish out with these pancakes.
- Oven-baked bacon
- Breakfast sausage links
- Bourbon brown sugar bacon
- Greek Yogurt- from-scratch or store-bought
- Reliable scrambled eggs
Storing, Freezing, and Reheating Buttermilk Pancakes
Whether you have leftover pancakes, want to eat them all week, or pop a batch in the freezer for a speedy morning meal here’s how to keep these pancakes fresh.
- Storing: Any leftover pancakes can be stored in an airtight container in the refrigerator for up to 4 days.
- Freezing: Place cooled pancakes in a freezer-safe container for up to 3 months.
- Reheating: Reheat frozen or refrigerated pancakes in a microwave or toaster oven.
Common questions
Breakfast Recipes to Make Next
Start your morning with these fluffy buttermilk pancakes. They are made in one bowl and ready in about 30 minutes. If you’ve been on a search for THE PERFECT PANCAKE RECIPE, give these a try – you will not be disappointed!
Watch the Recipe Video:
Photography by Ari Laing.
- Yield: 16 pancakes
- Prep: 20 minutes
- Cook: 15 minutes
- Total: 35 minutes
Ingredients
- 2 cups ( 283 g ) all-purpose flour
- 3 tablespoons granulated sugar
- 1½ teaspoons ( 1.5 teaspoons ) baking powder
- 1½ teaspoons ( 1.5 teaspoons ) baking soda
- 1 teaspoon ( 1 teaspoon ) salt
- 2¼ cups ( 540 ml ) buttermilk
- 2 eggs
- 3 tablespoons unsalted butter, melted and cooled slightly
- ½ teaspoon ( 0.5 teaspoon ) vanilla extract
- 1 tablespoon vegetable oil, for greasing the pan
Method
- Preheat oven to 325 degrees F.
- Whisk the flour, sugar, baking powder, baking soda and salt together in a large bowl and make a well in the center. Pour the buttermilk into the well, then add the eggs, melted butter and vanilla extract. Beginning in the center, whisk everything together, moving towards the outside of the bowl, until all of the ingredients are incorporated. Do not overmix – lumps are okay! (At this point, the batter can be refrigerated for up to 1 hour.) Allow the batter to rest for 10 minutes while you preheat your pan or griddle.
- Heat a large nonstick griddle or skillet ( cast iron is best!) over low heat for 5 minutes. (If you are using an electric griddle, preheat it to 350 degrees F.) Add 1 tablespoon of oil to the skillet, then increase the heat to medium-low. Using 1/3 cup measure, ladle the batter onto the pan or griddle. Do not crowd the surface, even if this means only being able to cook a couple at a time.
- Cook until edges are set, first side is golden brown, and there are bubbles on the surface, 2 to 4 minutes. Using a thin, wide spatula, flip pancakes and continue to cook until second side is golden brown, 1 to 2 minutes longer. Remove the pancakes to a wire rack set inside a rimmed baking sheet, and keep in the preheated oven until ready to serve. Repeat with remaining batter until all pancakes are cooked.
Notes
If you don't have buttermilk on hand, you can easily make it using a combination of regular milk and either lemon juice or white vinegar (this is referred to as "clabbered milk"); here's how to do it: For this pancake recipe, add 2½ tablespoons of lemon juice or white vinegar to a 4-cup measuring cup, then add enough milk to make 2½ cups. Stir together, then use as directed in the recipe. (You only need 2¼ cups for this recipe; you can discard the leftover buttermilk.)
Sometimes we only have a pint (2 cups) of buttermilk in the refrigerator and will use whole milk for the remaining ¼ cup and have never had an issue.
Be sure not to overmix the batter; lumps are okay!
Once the batter is mixed together, it can be refrigerated for up to 1 hour before cooking.
You can make smaller or larger pancakes if you’d like.
If you want to use add-ins like blueberries or chocolate chips (YUM!), we recommend sprinkling them on the individual pancakes right before you flip them over.
We prefer our pancakes with butter and maple syrup, but fruit and fresh whipped cream is also rich!
Wanting more for breakfast? Make a batch of oven baked bacon to have on the side!
Any leftover pancakes can be stored in an airtight container in the refrigerator for up to 4 days. Reheat in a microwave or toaster oven. You can also freeze the cooled pancakes in a freezer-safe container for up to 3 months.
Our recommendations for a cast iron skillet and electric griddle (we LOVE our griddle!).
Photography by Ari Laing.