Marshmallows
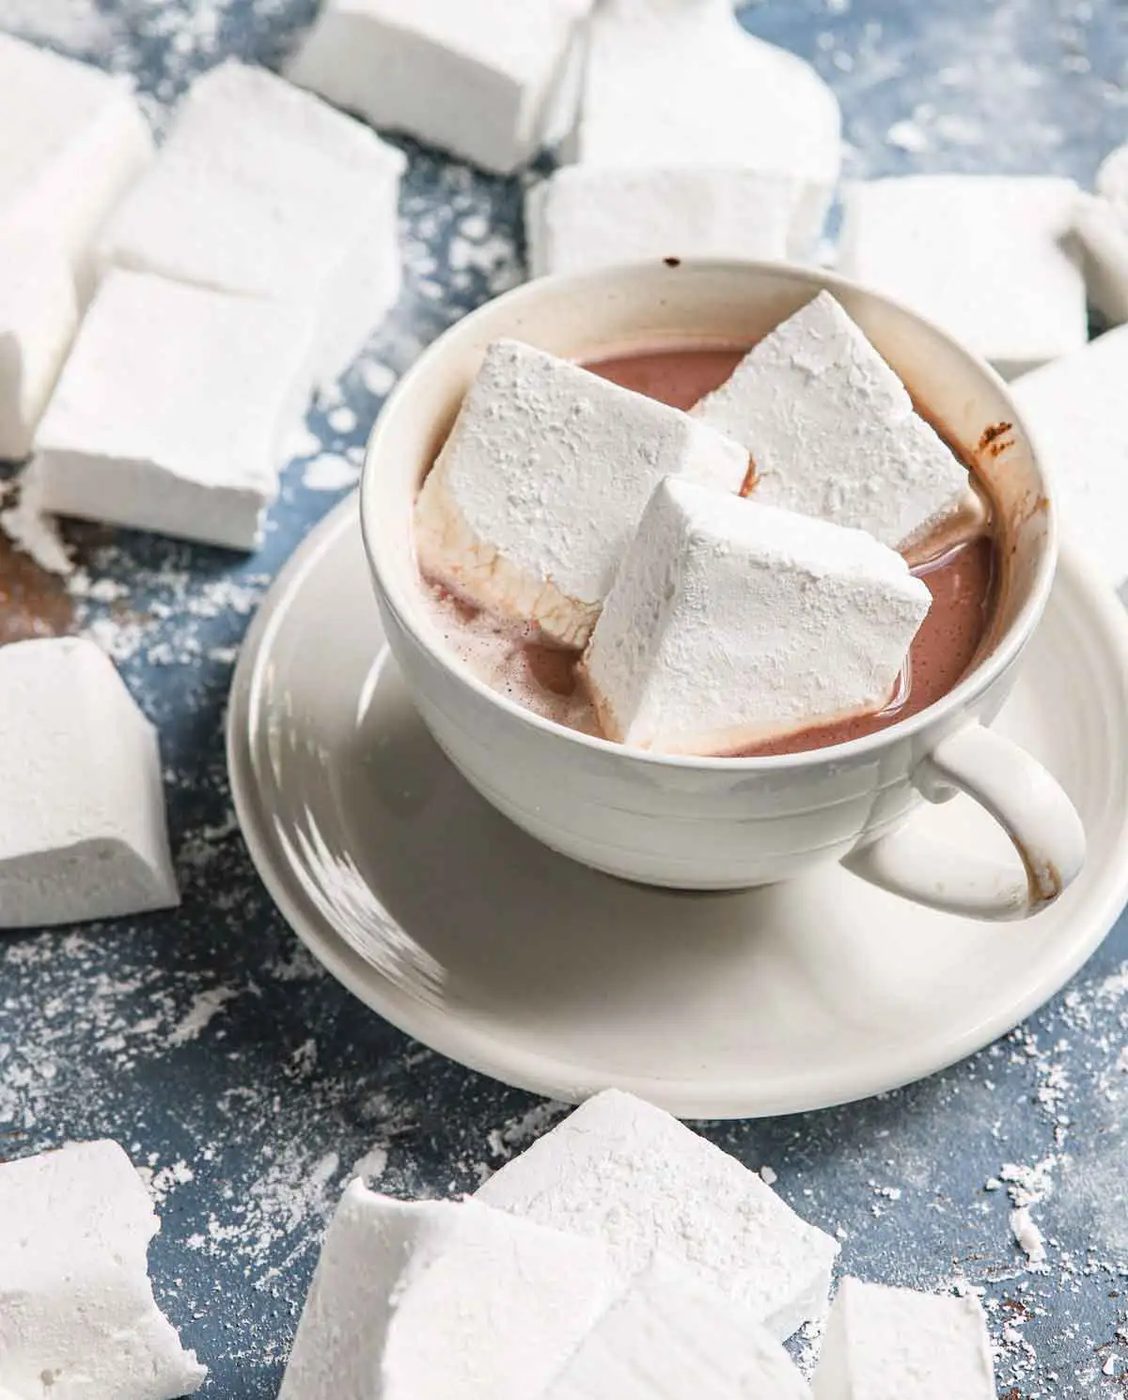
Fluffy, light-as-air from-scratch marshmallows come together with a few ingredients for the ultimate melt-in-your-mouth treat. Learn how to make your own with this straightforward-to-follow recipe then, use the marshmallows for topping hot cocoa, roasting into s’mores, or packaging for gifts.
If you've never treated yourself to from-scratch marshmallows, let us start off by saying yes, they are absolutely, positively, a million times better than any store-bought marshmallow you've tasted.
The from-scratch version is fluffier, tastier, and not as cloyingly sweet…. AND they're not difficult to make, either! Marshmallows are made from whipping water, sugar, and gelatin into a soft, fluffy consistency.
Why We Love This From-scratch Marshmallow Recipe
What's not to love about a fluffy marshmallow? Here are some of the reasons we love these soft, soft-centered confections:
- Better than store-bought. Seriously there is no competition when it comes to from-scratch vs. store-bought marshmallows. The texture, the flavor, the fluff!
- Melt-in-your-mouth pillowy soft. The texture of these marshmallows is beyond anything you will find at the store.
- Customizable. You can cut them, shape them, dip them, and dress them up any way you want. You can even add some flavors to change things up!
- Keeps forever! Okay well not exactly forever but if you store them properly they keep soft and spongey far longer than any open bag of marshmallows on the shelf.
How to Make From-scratch Marshmallows
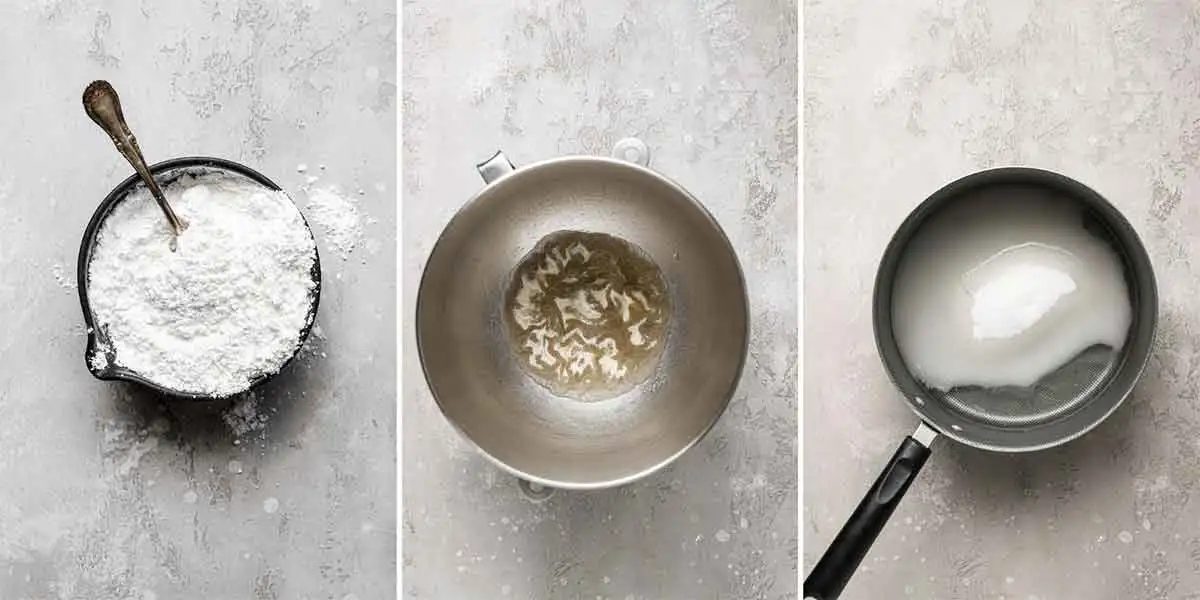
- Prepare the pan by spraying a 9×13-inch baking dish with nonstick cooking spray; or you can line it with parchment paper or aluminum foil. If you line the pan, spray the foil or parchment, as well. Pour ½ cup of the cold water into the bowl of a stand mixer and sprinkle the gelatin over the water. Let stand until firm, about 15 minutes. Meanwhile, make the syrup.
- Combine the rest of the water and the corn syrup in a medium saucepan, then add the sugar and salt. Bring to a boil while gently swirling the pan; the temperature should reach 240 degrees F on a candy thermometer.
- Pour the hot syrup into the gelatin mixture, avoiding the sides of the bowl as much as possible. Begin mixing on low, then gradually increase the speed to high and whip until the mixture is thick and stiff. Add the vanilla extract and mix until incorporated. Working quickly, scrape the marshmallow mixture into the prepared pan using a spatula that has been sprayed with non-stick cooking spray.
- Smooth the top into an even layer, then dust with the powdered sugar and cornstarch mixture, and allow to sit overnight at room temperature. The next day, turn the marshmallow slab out onto a cutting board, peel off the foil or parchment, and dust with powdered sugar/cornstarch.
- Using a pizza cutter or sharp knife to cut into squares, then toss a few at a time in a ziploc bag with the powdered sugar and cornstarch mixture, to coat the marshmallows.
Cutting and Shaping Alternatives
While it's straightforward (and traditional) to cut the marshmallows into squares, you could use cookie cutters to make just about any size and shape. Here are a few different ways to cut and shape these fluffy from-scratch marshmallows:
- Make "mini" marshmallows by spreading the mixture into a half sheet pan so they are shorter.
- Use a heart-shaped cookie cutter to make them for Valentine's Day.
- Make round marshmallows by cutting with a small circular cookie cutter.
- Use a small star-shaped cookie cutter for patriotic-themed marshmallows.
Baker notes
- Flavor Alternatives: Use different extracts to change up the flavors of the marshmallows, some ideas: peppermint, maple, orange, and coconut.
- Candy Thermometer: A candy thermometer is important, as reaching the correct temperature ensures that the marshmallows will set properly and have that soft, spongey texture.
- Serving: Great for topping hot chocolate or roasting and using for s’mores.
- Gifting: Dip them in chocolate (and roll in festive sprinkles!) or leave them plain and give them as gifts at the holidays or as a hostess gift any time of year. Can pair with a jar of from-scratch cocoa mix.
- Storage: Keep stored at room temperature in an airtight container or bag for up to 2 weeks.
- Freezing Instructions: To freeze, place in a freezer-safe bag and remove as much air as possible. Wrap the bag in aluminum foil and freeze for up to 3 months.
Watch the Recipe Video:
This recipe was originally published in December 2015.
Photography by Dee Frances.
- Yield: 118 marshmallows
- Prep: 30 minutes
- Cook: 10 minutes
- Total: 12 hours
Ingredients
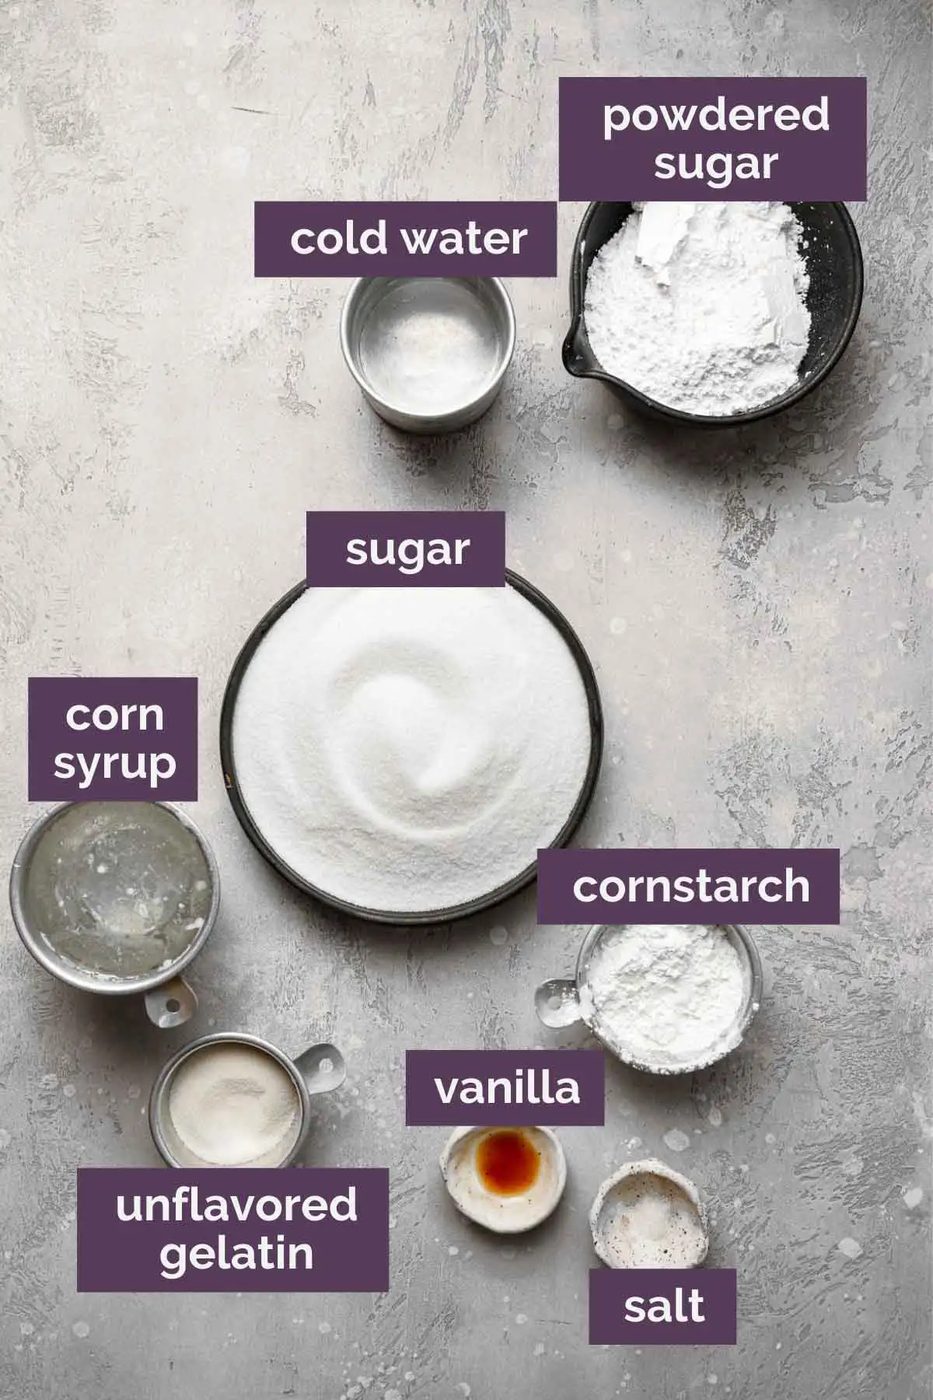
- ⅔ cup ( 76 g ) powdered sugar
- ⅓ cup ( 37 g ) cornstarch
- 1 cup ( 240 ml ) cold water, divided
- 2½ tablespoons unflavored gelatin, about 3 (0.25-ounce packets)
- ⅔ cup ( 208 g ) light corn syrup
- 2 cups ( 198 g ) granulated sugar
- ¼ teaspoon salt
- 2 teaspoons vanilla extract
Method
- Line a 9×13-inch pan with foil, enough so that excess foil hangs over the sides of the pan. Spray with non-stick cooking spray; set aside.
- In a small bowl, whisk together the powdered sugar and cornstarch; set aside.
- Pour ½ cup of the cold water into the bowl of an electric mixer fitted with the whisk attachment. Sprinkle the gelatin over the water. Let stand until the gelatin becomes firm, about 15 minutes.
- Meanwhile, combine the remaining water and the corn syrup in a medium saucepan. Pour the sugar into the center of the saucepan and add the salt. Place the pan over medium-high heat and bring to a boil, gently swirling the pan, until the sugar has dissolved completely and the mixture reaches 240 degrees F, about 6 to 8 minutes.
- Turn the mixer on low speed and carefully pour the hot syrup mixture into the gelatin mixture, avoiding the side of the bowl as much as possible. Gradually increase the speed to high and whip until the mixture is thick and stiff, 10 to 12 minutes, scraping down the bowl as needed. Add the vanilla extract and mix until incorporated, about 15 seconds.
- Working quickly, scrape the mixture into the prepared pan using a spatula that has been sprayed with non-stick cooking spray. Smooth the top into an even layer. Sift 2 tablespoons of the powdered sugar mixture over the pan. Cover and let sit overnight at room temperature.
- The next day, turn the marshmallow slab out onto a cutting board and peel off the foil. Sift 2 tablespoons of the powdered sugar mixture over the slab. Using a pizza cutter or a sharp knife that has been sprayed with non-stick cooking spray, cut into 1-inch strips one way, and then across the other way for square marshmallows. You could also use round cutters to cut them out as well.
- Place the remaining powdered sugar mixture in a large ziploc bag. Working with 3 or 4 marshmallows at a time, toss the marshmallows in the bag with the powdered sugar mixture, then toss in a fine-mesh strainer to remove any excess powder. Marshmallows can be stored at room temperature in an airtight container or bag for up to 2 weeks.
Notes
Flavor Alternatives: Use different extracts to change up the flavors of the marshmallows, some ideas: peppermint, maple, orange, and coconut.
Candy Thermometer: A candy thermometer is important, as reaching the correct temperature ensures that the marshmallows will set properly and have that soft, spongey texture.
Serving: Great for topping hot chocolate or roasting and using for s'mores.
Gifting: Dip them in chocolate (and roll in festive sprinkles!) or leave them plain and give them as gifts at the holidays or as a hostess gift any time of year. Can pair with a jar of from-scratch cocoa mix.
Storage : Keep stored at room temperature in an airtight container or bag for up to 2 weeks.
Freezing Instructions: To freeze, place in a freezer-safe bag and remove as much air as possible. Wrap the bag in aluminum foil and freeze for up to 3 months.
This recipe was originally published in December 2015.
Photography by Dee Frances.