Grandma’s Pizzelle
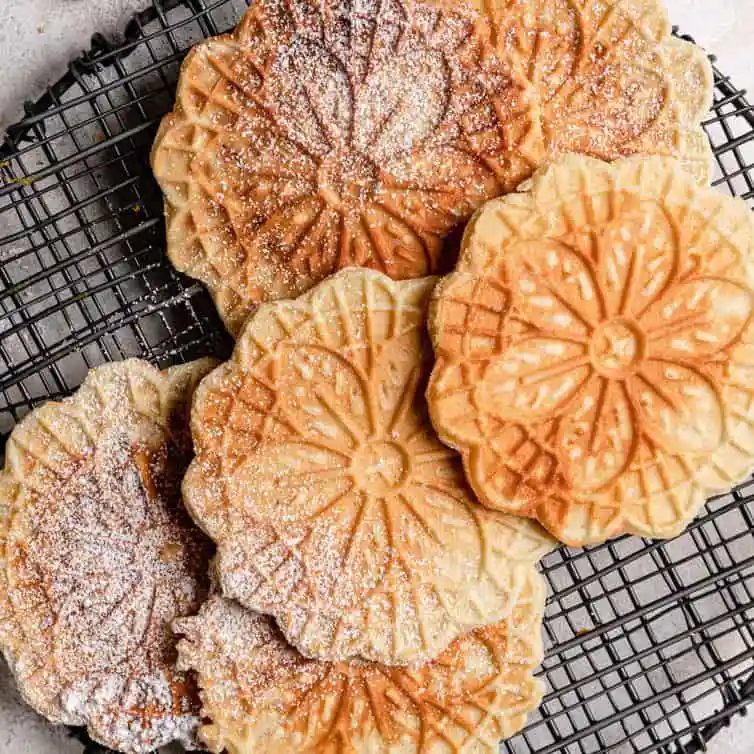
Our grandma’s straightforward and rich pizzelle recipe for the classic Italian cookie. Lightly sweetened and flavored with vanilla and whiskey (with options for anise and other flavors), they are wonderfully crisp and buttery, and reliable for holiday gift-giving!
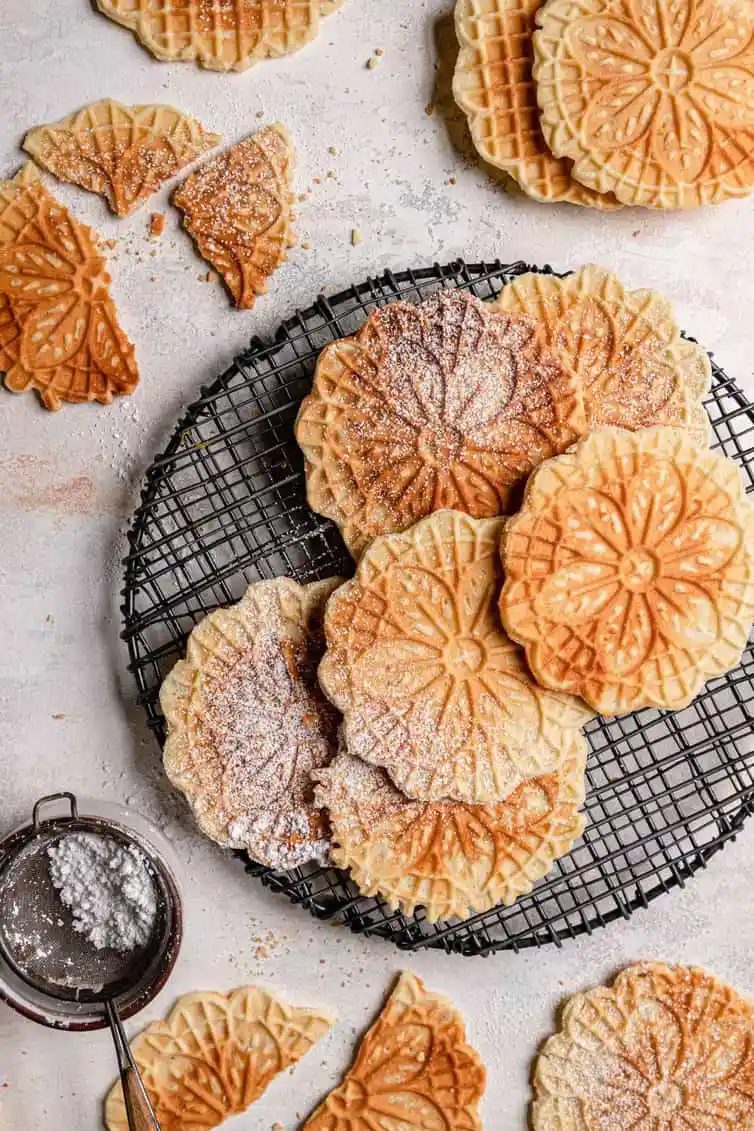
We have a huge soft spot in our heart for pizzelle. Growing up, it was extremely rare to walk into our grandma’s house and not find a large tin of pizzelle waiting to be eaten (they were usually sitting right next to the huge tin of biscotti that were also a staple in her house). We can still picture her, sitting on her stool at the kitchen table with her pizzelle iron, churning out dozens upon dozens, usually for no reason whatsoever other than her stash was getting low.
After she passed away, we went through all of her old recipes and was thrilled to find her beloved pizzelle recipe, labeled as “Pearl’s Mother’s Pizzelle”. It’s a bit untraditional in that it doesn’t include anise, but rather a combination of whiskey and vanilla, which we obviously love since we grew up eating these, but don’t worry! If you love anise, we have instructions below for how much to use.
For those not familiar, pizzelle are traditional Italian waffle cookies made from flour, eggs, sugar, some type of fat (butter, shortening or oil), and flavorings (the most popular are vanilla and anise). The name pizzelle translates to “small, flat, and round”. They are considered to be one of the oldest cookies ever created, dating back to ancient Rome.
Depending on the ratio of ingredients, you can make them thin and crispy or thick and soft, or any variation in between. This recipe (which is our personal favorite!) is for pizzelle that fall in the middle in terms of thickness and that have a nice crunch but do not crumble when you bite into them.
How to make them
You do need a pizzelle iron to make these, but they are fairly inexpensive and available almost anywhere you can buy kitchen goods. Our grandma’s came from a local Italian grocery store, and this is the one We use now.
The batter can be mixed together quickly in one bowl, and then you’re ready to roll!
We give our pizzelle iron a speedy spritz with non-stick cooking spray and then use a cookie scoop to start portioning the batter onto the iron. Most irons close down and have a clamp you can use to seal it shut while it cooks, which doesn’t take long at all! Only about a minute, give or take, for one batch.
It can take some trial and error and all irons are a bit different, so you might need a little less or a little more batter, and find that you need a little more time or a little less time to get the pizzelle to your desired degree of doneness.
Different flavors
Our grandma’s pizzelle had a distinct flavor from the combination of whiskey and vanilla. However, we know many families find anise to be the traditional flavor; you can absolutely mix and match flavors to make these your absolute favorite! Some suggestions:
- Alcohol: You can substitute brandy, Sambuca, or any other liquor for the whiskey called for in the recipe, or you can omit it entirely.
- Butter: Our grandma used butter, but many other recipes (including our mother-in-law’s) call for vegetable oil instead. You can also use margarine or shortening. The texture and taste will differ slightly, but will still work!
- Anise: If you prefer anise-flavored pizzelle, substitute 2 teaspoons anise oil (oil is more concentrated than extract and provides more flavor). If all you can find is anise extract, use 2 tablespoons. You can also still use some whiskey and vanilla to balance out the flavors.
- Other Extracts: Play around with others such as mint, coconut, almond, maple, etc. if you’d like to experiment with some non-traditional flavors!
- Anise Seeds: Some people like the flecks of anise seeds in pizzelle; you can add 2 to 4 tablespoons of anise seed.
- Citrus Zest: Add lemon or orange zest to brighten up the flavor!
- Chocolate: Replace ¼ cup of the flour with cocoa powder. Give it a test and if you’d like more chocolate flavor, add more!
Baker notes
- Pizzelle Sticking: If your pizzelle iron is stainless steel, you will want to spray it lightly with Pam (or whatever oil spray you prefer) before you start. We find that one spray, in the beginning, is sufficient since the fat from the recipe usually will act as a non-stick agent as well.
- Soggy Pizzelle: To keep the pizzelle nice and crisp, follow a few guidelines. If you do not have central air conditioning, be aware that humidity can inhibit the pizzelle from completely firming and crisping up as cools. We do not recommend making these on a humid or rainy day (our grandma never did!). Next, be sure not to use too much batter, and allow the pizzelle to cool completely on a wire rack before stacking or storing them. They don’t take long to cool and set, but it’s imperative that they aren’t stored or stacked before doing so.
- Batter Oozing Out: We find that when we drop the batter onto the iron, putting it slightly above the center of the circle ensures that the batter spreads evenly over the mold and doesn’t seep out. Again, be sure not to use too much batter and adjust if necessary.
Ways to serve it
While we've always enjoyed pizzelle plain and as-is, some people dust them with powdered sugar before serving. Here are some other ideas for you:
- While still warm, roll into a cylinder and fill with cannoli filling.
- While still warm, roll into a cone shape and use as a waffle cone to fill with ice cream.
- Sandwich a layer of chocolate ganache or Nutella between two cooled pizzelle.
- Dip half of the pizzelle in chocolate (you can then sprinkle with chopped nuts, coconut, sprinkles, etc.).
Storing and freezing
Given their natural dry and crisp texture, pizzelle are a reliable candidate for long-term storage and getting a head start on holiday baking!
They can be stored in virtually any type of storage container from Tupperware-style to cookie jars and tins and resealable bags. They will easily keep well for at least 1 month.
To freeze the pizzelle, make sure they are completely cool, then store them in an airtight container or resealable freezer bag and freeze for up to 3 months. Thaw briefly at room temperature.
- Yield: 76
- Prep: 10 minutes
- Cook: 45 minutes
- Total: 1 hour
Ingredients
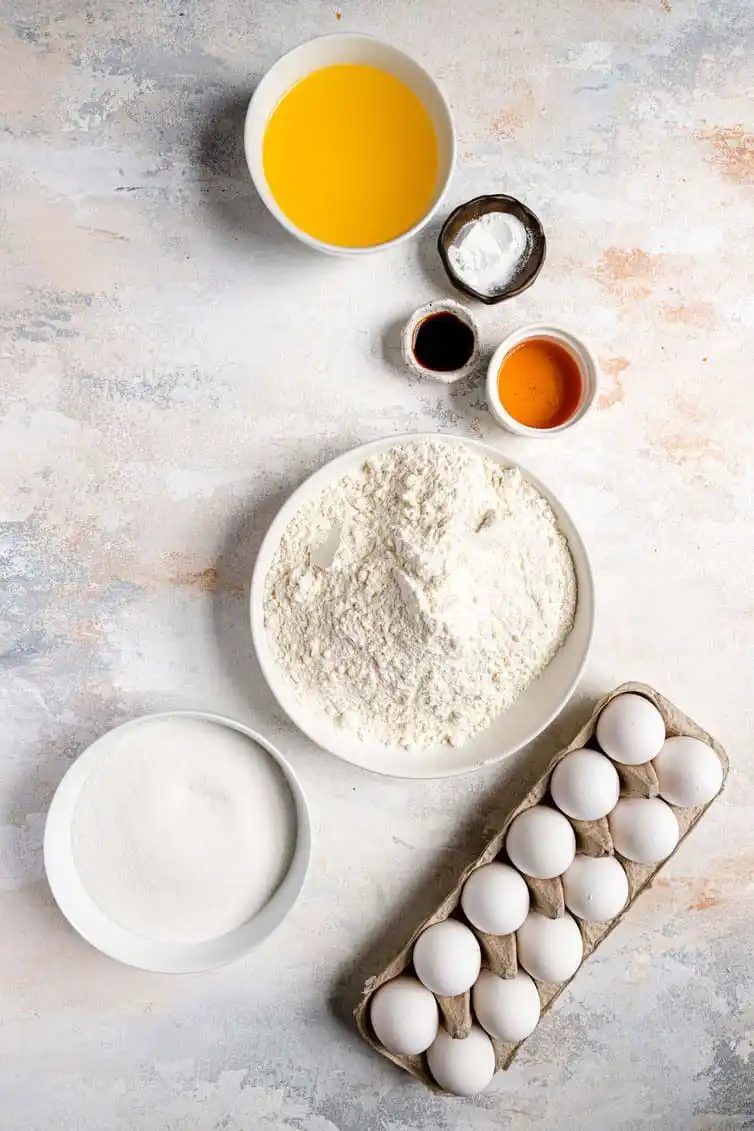
- 12 eggs
- 2 cups ( 397 g ) granulated sugar
- 2 cups ( 454 g ) butter, melted
- 3 tablespoons whiskey
- 3 tablespoons vanilla extract
- 5 cups ( 600 g ) all-purpose flour
- 2 teaspoons baking powder
Method
- Using an electric mixer on medium speed, beat the eggs and sugar together until thick and pale in color, 2 to 3 minutes. Add the melted butter and beat until thoroughly combined and incorporated, 1 to 2 minutes. Add the whiskey and vanilla and beat to combine. Reduce the mixer speed to low and add the flour and baking powder, mixing until thoroughly combine and smooth.
- Follow the instructions of your pizzelle maker for cooking the pizzelle (this is the one we have). We drop 1 heaping tablespoon of batter using this scoop and then cook to desired doneness (about 1½ minutes for us, but time can vary based on machine and personal preference).
- Remove pizzelle from the machine using a thin spatula and transfer to a wire rack until cool. Serve plain or dusted with powdered sugar. Pizzelle can be stored in a container at room temperature for up to 1 month.
Notes
Equipment: Pizzelle Maker
[Photography by Dee Frances ]