Tall & Flaky Buttermilk Biscuits
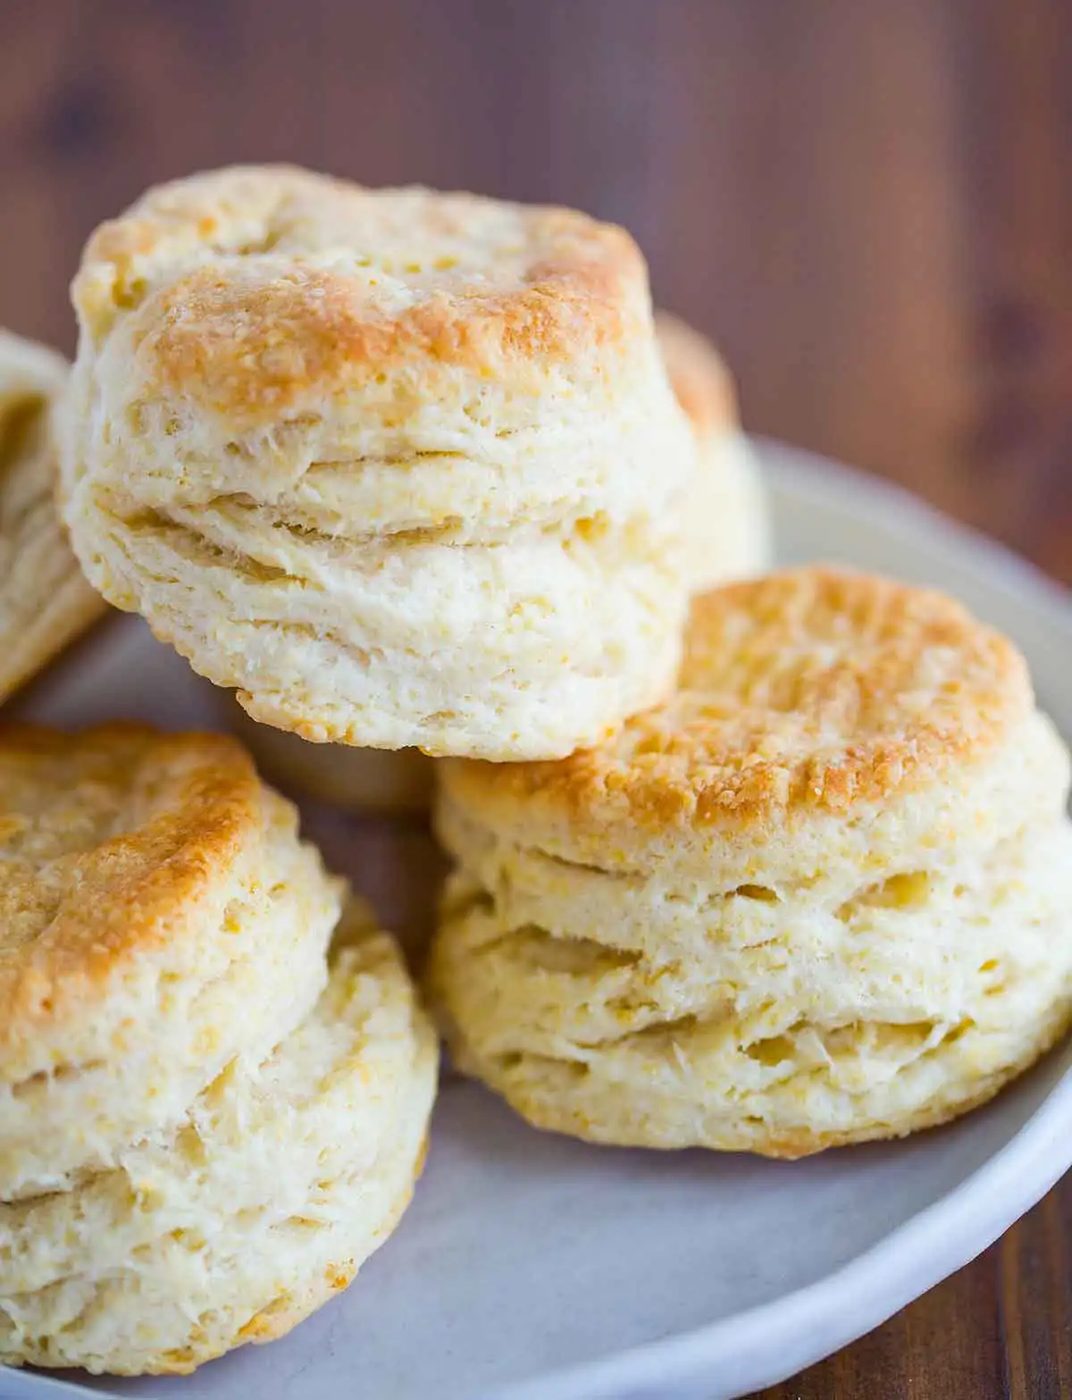
Discover the secret to tall, flaky, buttery buttermilk biscuits with this straightforward from-scratch recipe. They are wonderful on their own, with a smear of butter or jam, or as a base for sausage gravy, strawberry shortcake, or your favorite breakfast sandwich.
The buttermilk biscuit recipe we had made for the better part of our adult life was always fine, but most definitely not phenomenal. They were good, but not mind-blowing. We wanted sky-high biscuits with tons of buttery layers, and we're thrilled to tell you that they are HERE. With just a few tweaks and simple tricks, we had the biscuits of our dreams.
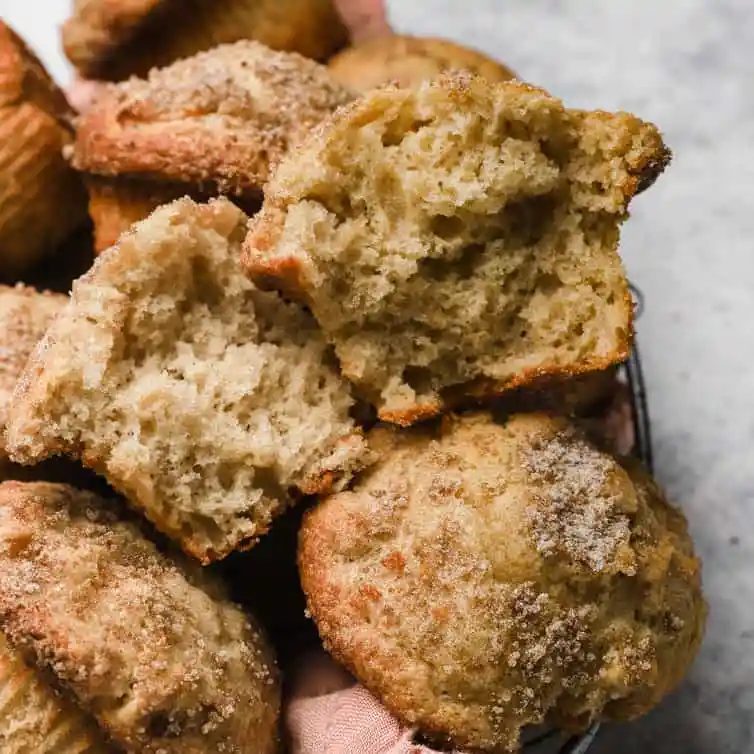
There's just something magical about pulling apart that soft biscuit, watching the steam wisp out of the middle, and then savoring each buttery, flaky layer.
We can now enjoy sausage gravy and strawberry shortcakes with reckless abandon!
Ingredient Notes on Buttermilk
Biscuits are one of the simplest baked goods that you can make as they mostly use kitchen staples like flour, sugar, salt, and butter, but they include one special, important ingredient – buttermilk. We try to always have a quart in the refrigerator for pancakes, waffles, biscuits, or any other rich recipe that calls for it.
It plays a vital role in biscuits due to its acidity, which reacts with the baking powder to give biscuits an standout lift; it’s how we get those nice, tall biscuits with a fluffy texture. Due to the power of its acidity, you can’t simply use regular milk in its place. Here are a few notes on how to deal with substitutes and how to store extra:
How To Make Buttermilk if You Don't Have It
If you don't have buttermilk on hand, you can easily make it using a combination of regular milk and either lemon juice or white vinegar (this is referred to as "clabbered milk"); here's how to do it:
Add 1 tablespoon of lemon juice or white vinegar to a measuring cup, then add enough milk to make 1 cup. Stir together, then use as directed in the recipe. (You can scale up if needed; if you do not need a full 1 cup, discard what you do not need.)
How To Tell if Buttermilk Has Gone Bad
Since buttermilk already has a characteristic sour smell and taste, and it can take a long time for it to actually get moldy, it can be difficult to tell if it has gone bad. And because it is acidic, it will take a long time to actually develop mold.
Buttermilk should typically be used within a couple of weeks of opening it, but if you shake it up and the consistency is "off" from when it was originally opened (thin or extra chunky), then discard it. Also, if it emits a more foul odor than the traditional sour smell, then pitch it as well.
Freezing Buttermilk For Later Use
Most recipes don't call for more than 1 cup of buttermilk at a time, so we've found a standby and most efficient way to freeze buttermilk is in 1 ounce (2 tablespoon) portions.
To do this, we love these silicone ice cube trays (also reliable for storing leftover adobo peppers and sauce if you make our chipotle chicken recipe) - once frozen, we pop them out and store in a freezer ziploc bag until we need them. Thaw in the refrigerator, then whisk well to reincorporate the buttermilk, which will separate when frozen.
You can store the frozen buttermilk for up to 3 months.
How to Make Flaky Biscuits
Biscuits are straightforward to make (people have been making them for at least hundreds of years!), but we discovered one key technique that helps to create fluffy, flaky biscuits. Here’s how we make them:
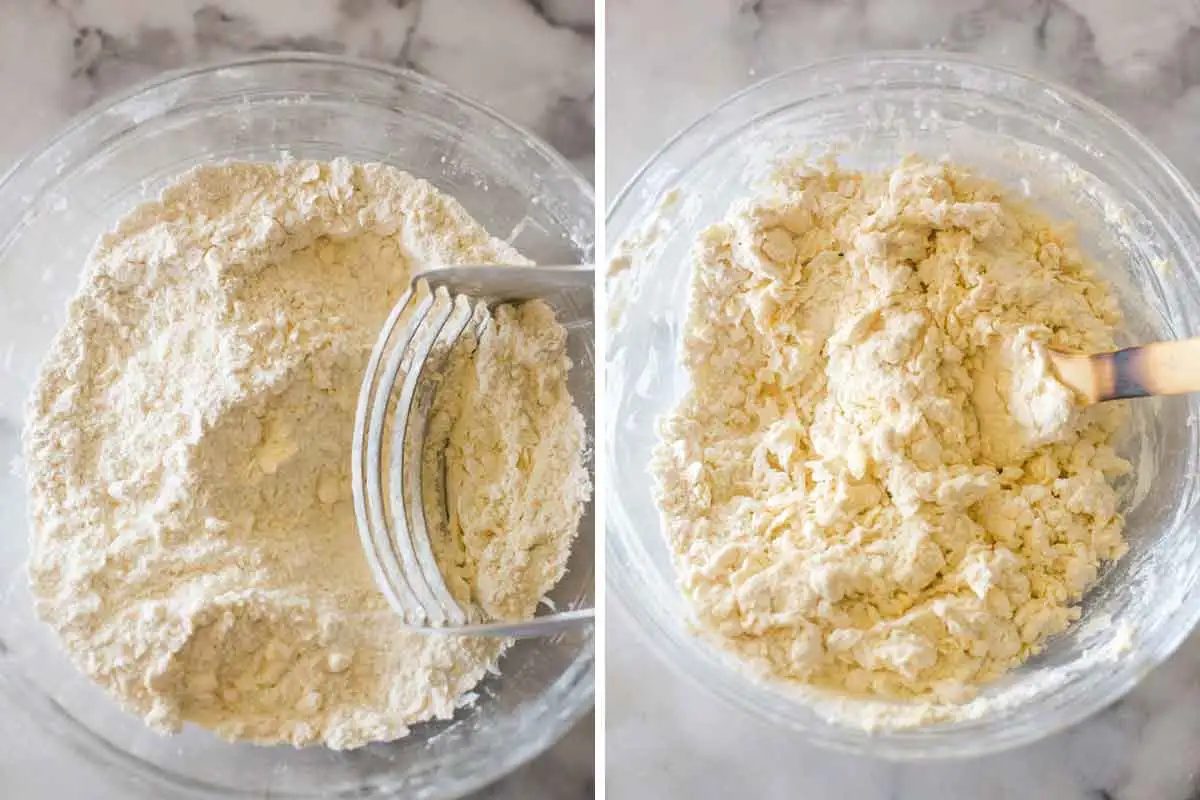
Step #1: Make the Dough – Combine flour, baking powder, and salt in a small bowl. Cut the butter into the dry ingredients using a pastry cutter or two knives (you can even do this in a food processor with a handful of speedy pulses, if you’d like). Using a fork or rubber spatula, stir the buttermilk into the flour and butter mixture, mixing until a soft, slightly sticky ball forms.
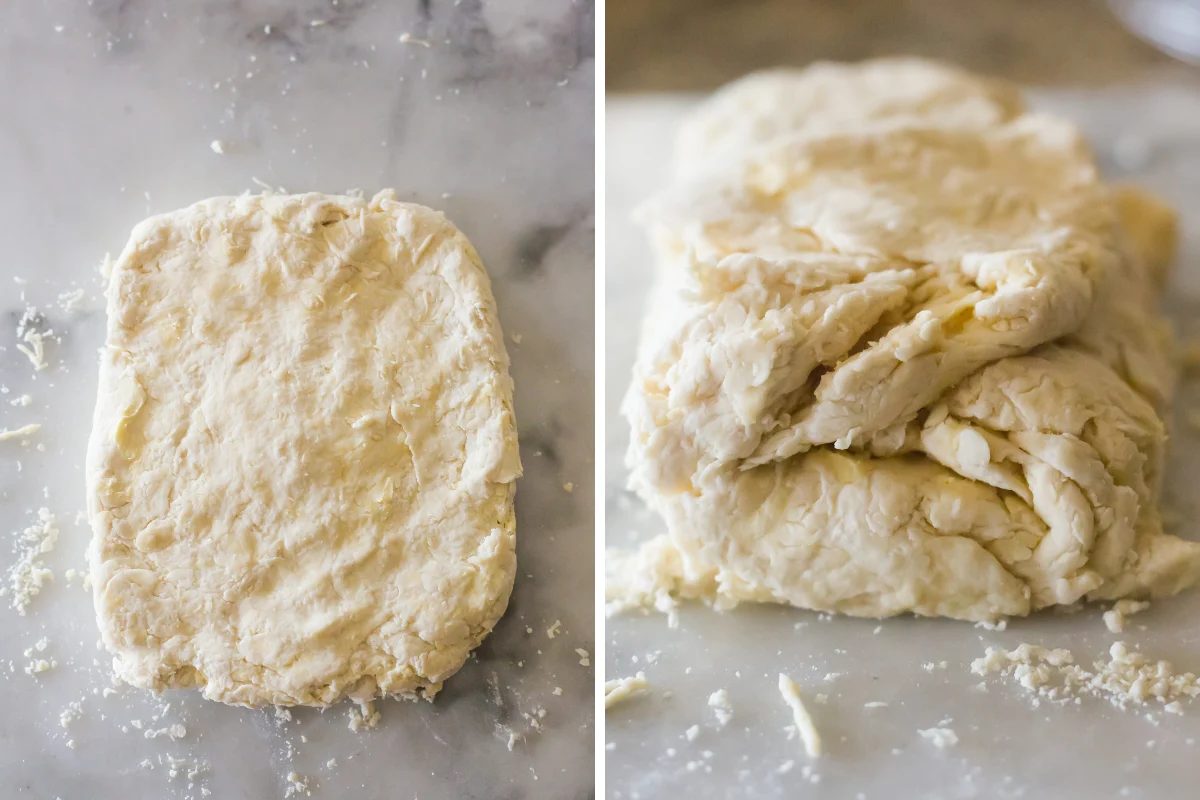
Step #2: Fold the Dough –Turn the dough onto a lightly floured surface and quickly form into a rough square. Pat the dough into a 1-inch-thick rectangle. Fold the dough letter-style into thirds, then lightly pat the dough back out into another 1-inch rectangle. Try to handle the dough as quickly and lightly as possible. Repeat the folding 2 more times; after the final fold, press or lightly roll the dough into a ½-inch thick rectangle.
Step #3: Cut Out the Biscuits – Using a 2½-inch round biscuit or cookie cutter, cut out the dough rounds and place them on a parchment-lined baking sheet. Pat and roll the remaining scraps to cut out more rounds.
Step #4: Bake the Biscuits – Brush the tops of the biscuits with melted butter and bake until the biscuit tops are light golden brown, 10 to 15 minutes. Brush with additional butter (or honey butter!) immediately, if desired.
Making the Biscuits in a Cast Iron Skillet
This is a great option if you love the bottom of your biscuits to have a little crisp and crunch to them!
Simply place the biscuits in a large cast iron skillet, leaving a little space between each one so that they have room to grow and rise.
Can Buttermilk Biscuits Be Made Ahead of Time?
To prepare the biscuits ahead of time without baking them first, you can simply prepare the dough and cut out the biscuits, then place on a parchment-lined baking sheet, cover with plastic wrap and place in the freezer. Once completely frozen, place the biscuits in a freezer ziploc bag and keep in the freezer for up to 3 months.
When ready to bake, place the frozen biscuits (no need to thaw!) on a parchment-lined baking sheet and bake at 425 degrees F for 20 to 25 minutes.
Storing and Reheating the Biscuits
While biscuits always taste best fresh from the oven or the same day they are made, you can store any leftover biscuits in an airtight container at room temperature for up to 3 days.
To reheat leftover biscuits and get the fresh-from-the-oven flavor and texture, We recommend reheating in a 350-degree oven (a toaster oven is reliable for this, too!) for about 5 minutes. Perfection.
Freezing Already-Baked Biscuits
If you’d like to store some of the biscuits you’ve already made in the freezer, you can do that, too! Make sure that they have cooled completely, then wrap each biscuit tightly in plastic wrap and place in a freezer-safe ziploc bag or other airtight container. They will keep well in the freezer for up to 3 months.
You can thaw the frozen biscuits at room temperature or (the better option, in our opinion!) reheat them in the oven. Simply place the frozen biscuits on a parchment-lined baking sheet, cover lightly with foil, and heat at 350 degrees for 15 to 20 minutes, or until soft and warm in the center.
Baker notes
Biscuits are one of the simplest baked goods to make, in terms of both ingredients and time, but they have been known to cause even the most even-tempered bakers to pull their hair out.
Light, fluffy biscuits and hockey pucks are separated by a fine line. Below are some tips to help make sure you end up in fluffy biscuit land, and not on ice…
- Cold butter is key. For biscuits (as well as pie crusts) we find that cubing the butter and then putting it on a plate in the freezer for about 15 minutes before using it keeps it nice and cold while mixing. Some people also swear by grating frozen butter; whatever method you use, the most important part is that it is freezing cold when you start!
- Mixing the butter and dry ingredients quickly so the butter remains cold and firm is crucial to producing light, tender biscuits. The dough will likely be shaggy and rough, and that's okay; if you work it until it's smooth, it will be overworked and result in tough biscuits. A light touch and little pressure are important.
- Folding the dough envelope-style is the biggest difference we've found when re-working our biscuit recipe. It creates incredibly tall biscuits with layer upon flaky layer of buttery goodness.
- When you cut the biscuits, whether with a cookie cutter or biscuit cutter, push straight down, then pull right back up. DO NOT twist the cutter… we used to make this mistake and couldn't believe the difference it made when we stopped!
- The intense heat of the oven creates the steam needed to raise the dough and create airy, fluffy biscuits. Make sure your oven is completely preheated before baking the biscuits.
- Southern-Style Biscuits and Gravy
- From-scratch Strawberry Shortcake
- Sausage-Cheddar Biscuits
- Red Lobster Cheddar Bay Biscuits
Watch How to Make Buttermilk Biscuits:
- Yield: 12 biscuits
- Prep: 20 minutes
- Cook: 15 minutes
- Total: 35 minutes
Ingredients
- 2½ cups ( 325 g ) all-purpose flour
- 2 tablespoons baking powder
- 2 teaspoons granulated sugar
- 1 teaspoon salt
- ½ cup ( 113 g ) cold unsalted butter, cut into ¼-inch cubes
- 1 cup ( 240 ml ) cold buttermilk
- ¼ cup ( 57 g ) unsalted butter, melted, for brushing
Method
- Preheat oven to 425 degrees F. Line a baking sheet with parchment paper or a silicone baking mat.
- In a large bowl, whisk together the flour, baking powder, sugar and salt.
- Using a pastry blender (or two knives or your fingertips), quickly cut the butter into the flour mixture until the mixture resembles coarse meal with a few slightly larger butter lumps.
- Using a rubber spatula or fork, stir in the buttermilk until the mixture forms a soft, slightly sticky ball.
- Transfer the dough to a lightly floured surface and quickly form into a rough square. Be careful not to overmix. Pat the dough into a 1-inch-thick rectangle. Fold the dough letter-style into thirds, then lightly pat the dough back out into another 1-inch rectangle. Try to handle the dough as quickly and lightly as possible. Repeat the folding 2 more times; after the final fold, press or lightly roll the dough into a ½-inch-thick rectangle.
- Using a 2½-inch round biscuit or cookie cutter, cut out the dough rounds and place on the prepared baking sheet. Pat and roll the remaining scraps to cut out more rounds. Brush with the melted butter and bake until the biscuit tops are light golden brown, 10 to 15 minutes. Brush with additional butter immediately, if desired. Serve warm or at room temperature. The biscuits are best served the day they are made, however leftovers can be stored in an airtight container at room temperature for up to 4 days. Reheat in a 350 degree F oven for 5 minutes.
Notes
Buttermilk – If you don’t have buttermilk, mix together your own using this method: Add 1 tablespoon of lemon juice or white vinegar to a measuring cup, then add enough milk to make 1 cup. Stir together, then use as directed in the recipe.
Storing – While biscuits always taste best fresh from the oven or the same day they are made, you can store any leftover biscuits in an airtight container at room temperature for up to 3 days.
Reheating Instructions – To reheat leftover biscuits and get the fresh-from-the-oven flavor and texture, we recommend reheating in a 350-degree oven (a toaster oven is reliable for this, too!) for about 5 minutes. Perfection.