DIY: From-scratch Klondike Bars
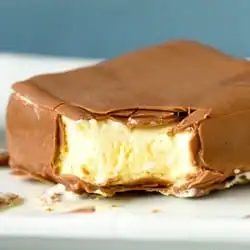
Our family totally fell into the stereotypical “no junk food” household which housed kids that got to eat all the goodies they wanted when they went to visit grandma. Pop-Tarts were a big no-no at home, but grandma always had a box in the pantry. Potato chips? They only existed at grandma’s. Sugary cereal that would rot our teeth? Forget about it, but you could count on a box of Cocoa Krispies at our grandma’s. Ice cream treats at home? Only popsicles, but grandma’s? Her freezer stored an endless supply of Klondike bars and a few other miscellaneous goodies. It was always a treat to throw open that freezer door and grab a foil-wrapped square of frozen deliciousness. The hard chocolate shell around creamy vanilla ice cream was enough to make our weekend! Bonus if it was during the summer since our grandma never had air conditioning (or a dishwasher – she needs to be nominated for martyrdom!). When we started thinking about the different types of from-scratch frozen treats we wanted to make this summer, Klondikes neared the top of our list. They bring back such fun memories of being a kid, playing at grandma’s, sleepovers, Slip n’ Slides, and carefree summer days. Plus, we figured that if they were made completely from scratch, they’d be even better than the original. With only three ingredients, there’s no excuse to not make these this summer!
Have you ever wondered what it is that creates that hard, crisp outer shell on a Klondike bar (or any ice cream bar, for that matter)? It’s so incredibly simple we would have never dreamed it was possible if we hadn’t done it myself! Only two ingredients – chocolate and coconut oil! Who knew?! Those are the components for what is commonly referred to as “magic shell” – the ice cream topping that hardens almost immediately after coming into contact with ice cream. We saw a ton of different guidelines for the ratio of chocolate to coconut oil and ended up just winging it based on what we saw. We were happy with how thick the coating was and how hard it dried.
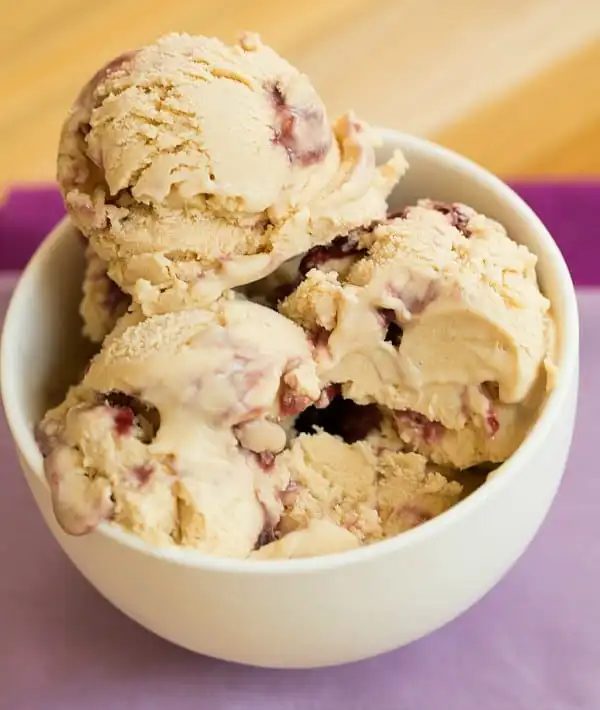
We churned up our favorite vanilla ice cream for the occasion and used that for our ice cream squares, but you could certainly use your favorite store-bought vanilla brand.
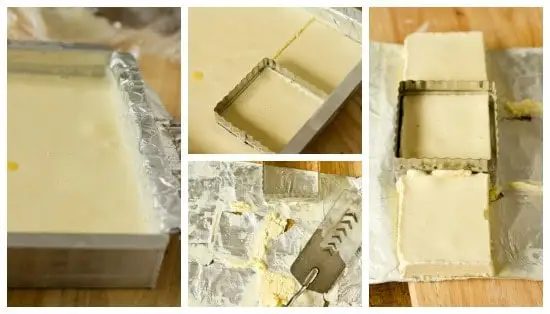
All you need to do is spread the ice cream in a pan, let it freeze, and then cut it into squares. You’ll notice that we do a lot of freezing in between steps; that helps to ensure that the ice cream stays as cold and as hard as possible so that it doesn’t start to melt when being dipped. A little bit of patience goes a long way when you’re playing around with ice cream treats! (we've also found that from-scratch ice cream tends to be richer and melts a little more quickly than ice cream purchased from the store.)
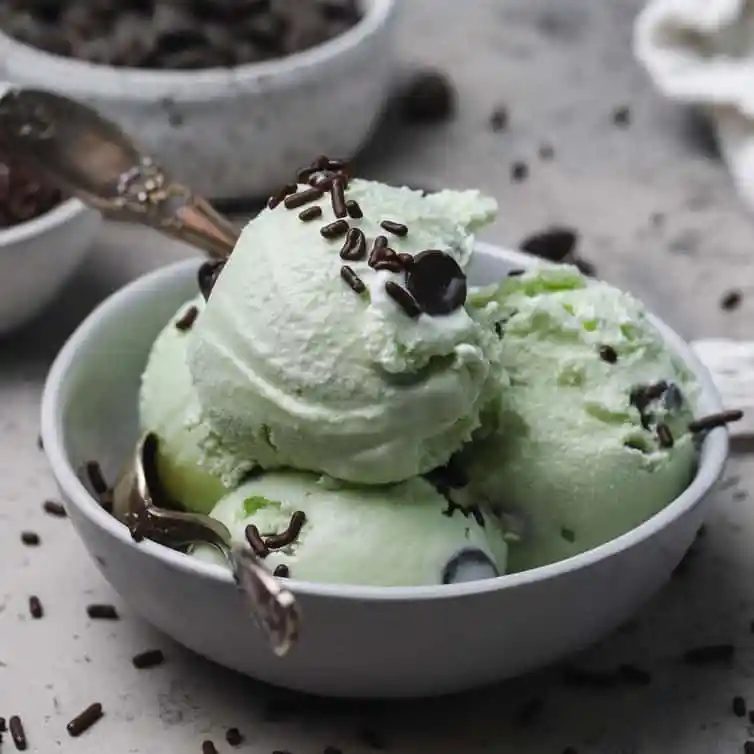
We have been imaging all sorts of fun variations on this basic recipe. You could certainly substitute the vanilla ice cream with your favorite flavor, use semisweet or dark chocolate as well. We're also thinking about dipping the ice cream in salted caramel and then the chocolate. Another possibility could crushed pretzels mixed into the chocolate coating. The possibilities are endless! What would your ultimate from-scratch Klondike look like?
Oh, and we always eat a Klondike with a spoon. In a bowl. Because we can’t eat nearly fast enough not to make a gigantic mess all over myself otherwise. We're still pretty much a little kid when it comes to ice cream ;-)
One year ago: Frozen Chocolate-Peanut Butter Pie
Two years ago: Peanut Butter Cup Rice Krispies Treats
Three years ago: Anise-Almond Biscotti
Four years ago: American Sandwich Bread
From-scratch Klondike Bars
Yield: 9 bars A at-home recipe for your favorite ice cream bars- 1 quart (0.95 l) vanilla ice cream
- 16 ounces (453.59 g) milk chocolate, chopped
- ¼ cup (54.5 ml) + 2 tablespoons coconut oil
- Line a 9x9-inch square baking pan with foil or parchment paper; set aside.
- If you are using from-scratch ice cream, churn the ice cream and then immediately spread it into the prepared pan. If you are using store-bought ice cream (or already-churned from-scratch ice cream), let it soften in the refrigerator for about 30 minutes, and then spread it in the prepared pan. Cover the pan with plastic wrap and place in the freezer for at least 6 hours, or preferably overnight.
- When ready to cut the ice cream, line a large baking sheet with parchment paper. Remove the pan from the freezer and, using the foil or parchment overhangs, lift the block of ice cream out of the pan and place on a cutting board. Working quickly, cut the ice cream into 9 even squares, using a biscuit cutter or a sharp knife. Use a flat stainless steel spatula to lift the squares onto the baking sheet lined with parchment. Place the baking sheet with the squares of ice cream in the freezer for at least 1 hour.
- Meanwhile, prepare your chocolate coating. Set a medium-sized bowl over a small saucepan with about an inch of water in it. Turn the heat to low and place the chocolate in the bowl, stirring occasionally, until it is completely melted. Once the chocolate is melted, add the coconut oil and stir until it has been completely melted and incorporated into the chocolate. The mixture will be thin. Turn off the heat, remove the bowl from the top of the saucepan and place on a wire cooling rack. Stir occasionally and allow it to cool to room temperature.
- Once the ice cream squares have been in the freezer for at least an hour and the chocolate mixture has reached room temperature, remove the baking sheet from the freezer. Working quickly, use a large fork to dip one ice cream square at a time into the chocolate mixture, ensuring that it is completely coated. Lift it out and place it back on the parchment-lined sheet. Repeat with all of the ice cream squares and then return the sheet with the chocolate-coated squares to the freezer for at least 30 minutes.
- At this point, you can dip the squares again for a nice, thick chocolate coating (which is what we did), or you can be finished. If you dip them again, follow the same process as above, and again allow to freeze for at least 30 minutes following dipping. Once you are finished, you can wrap each square individually in plastic wrap, place in a zip-top freezer bag and store in the freezer.
Notes
Nutritional values are based on one serving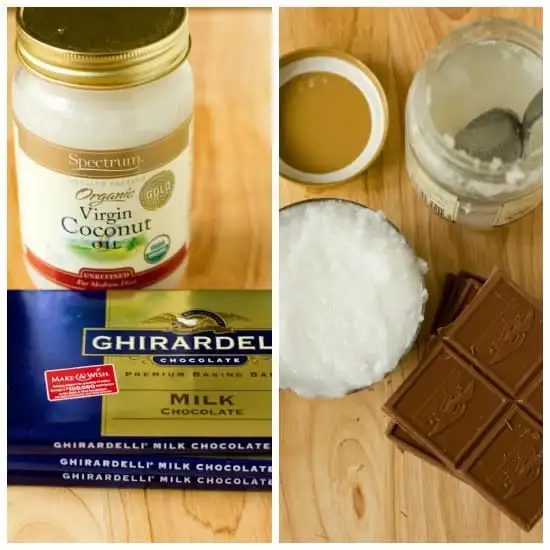
- Yield: 9 bars
- Prep: 20 minutes
- Total: 8 hours 20 minutes
Ingredients
- 1 quart ( 0.95 l ) vanilla ice cream
- 16 ounces ( 453.59 g ) milk chocolate, chopped
- ¼ cup ( 54.5 ml ) + 2 tablespoons coconut oil
Method
- Line a 9x9-inch square baking pan with foil or parchment paper; set aside.
- If you are using from-scratch ice cream, churn the ice cream and then immediately spread it into the prepared pan. If you are using store-bought ice cream (or already-churned from-scratch ice cream), let it soften in the refrigerator for about 30 minutes, and then spread it in the prepared pan. Cover the pan with plastic wrap and place in the freezer for at least 6 hours, or preferably overnight.
- When ready to cut the ice cream, line a large baking sheet with parchment paper. Remove the pan from the freezer and, using the foil or parchment overhangs, lift the block of ice cream out of the pan and place on a cutting board. Working quickly, cut the ice cream into 9 even squares, using a biscuit cutter or a sharp knife. Use a flat stainless steel spatula to lift the squares onto the baking sheet lined with parchment. Place the baking sheet with the squares of ice cream in the freezer for at least 1 hour.
- Meanwhile, prepare your chocolate coating. Set a medium-sized bowl over a small saucepan with about an inch of water in it. Turn the heat to low and place the chocolate in the bowl, stirring occasionally, until it is completely melted. Once the chocolate is melted, add the coconut oil and stir until it has been completely melted and incorporated into the chocolate. The mixture will be thin. Turn off the heat, remove the bowl from the top of the saucepan and place on a wire cooling rack. Stir occasionally and allow it to cool to room temperature.
- Once the ice cream squares have been in the freezer for at least an hour and the chocolate mixture has reached room temperature, remove the baking sheet from the freezer. Working quickly, use a large fork to dip one ice cream square at a time into the chocolate mixture, ensuring that it is completely coated. Lift it out and place it back on the parchment-lined sheet. Repeat with all of the ice cream squares and then return the sheet with the chocolate-coated squares to the freezer for at least 30 minutes.
- At this point, you can dip the squares again for a nice, thick chocolate coating (which is what we did), or you can be finished. If you dip them again, follow the same process as above, and again allow to freeze for at least 30 minutes following dipping. Once you are finished, you can wrap each square individually in plastic wrap, place in a zip-top freezer bag and store in the freezer.